I have already showed you how water marble is created and although I really like the design, I have to say that cleaning up the cuticles after that is quite tricky – especially if some dark or glittery colours were used. I promise that this is probably the easiest nail art technique I know.
So I have decided to try an even simpler method that doesn’t require so many tools. Also, I made a mistake with the water marble once that I used normal glasses for that – you can imagine, that once the nail polish stuck to the glass, you definitely don’t want to drink from it anymore. For this one, all you need is your chosen colours and either a dotting tool or a toothpick. 😉
- Prep your nails as normal, the apply a thin layer of base coat to all your nails and let it dry completely.

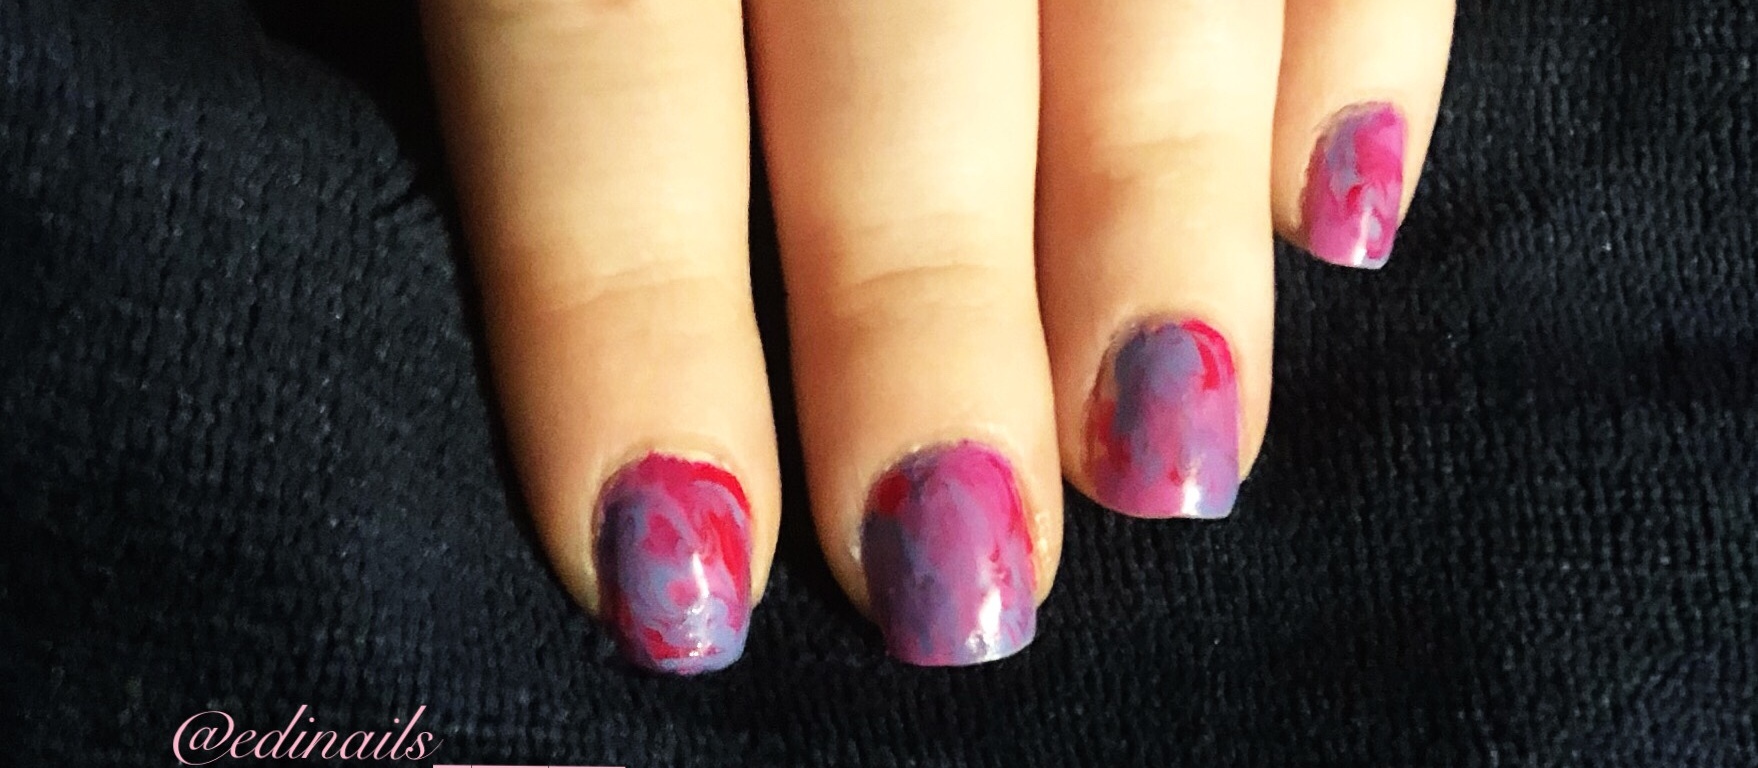
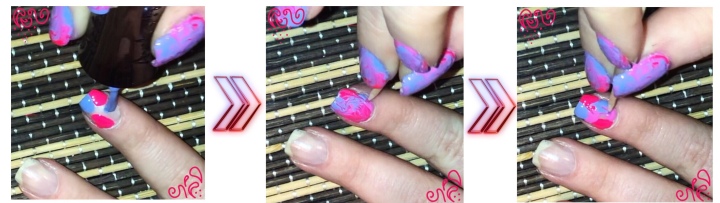
- Apply a few drops of your chosen colours to your nail (I’ve added 2 of each colours) and then using a toothpick (or dotting tool) start mixing the colours on your nail. This will create a marble effect on them. And since it’s regular nail polish and not gels, you don’t need to be that worried about the thickness either. (try not to apply it too thickly though, but a little more than usual will still dry eventually, just might need a little more time)
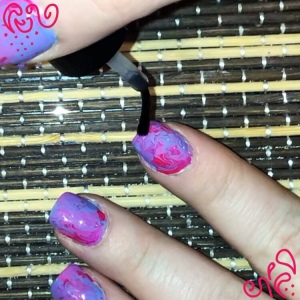
- When the colour is dry, apply a layer of top coat to all your nails. I’ve used Seche Vite on my nails which is a really great top coat as the colour underneath doesn’t need to be 100% dry, it will help to dry the colour too 😉
Well, this post seems to be so short but that is actually all the steps you need in order to re-create this lovely marble effect. And since it only requires just a few steps, it’s a perfect choice when you don’t have much time to spend on your nails but still want to have a cute design 😊
