
Since the weather over here in UK is so mild and we still don’t have the proper winter feeling yet, it kind of feels like that we jumped straight into spring. And if spring, then we need something warmer on our nails too 😊
I admit that the colours I have chosen (especially the beige one) is still a bit wintery but after all it’s still only January. Looking at my nails definitely brings spring closer and make this weather a tiny bit more bearable too.
The other great thing about these nails is that it doesn’t require much skills or tools, the little dots for the flower can hide any issues that might have happened with the line underneath 😉
- So as usual apply base coat to the previously prepped nails, then cure it under your lamp
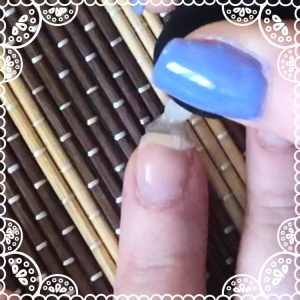
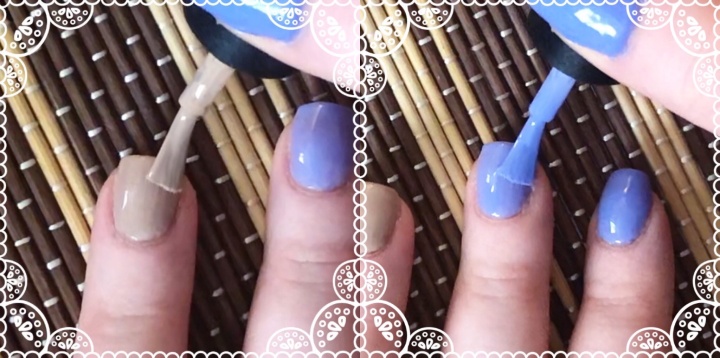
- Once the base coat is cured, apply the first layer of the colours (I chose blue to most of my nails and beige for the ring finger which will have the flower) and also cure it

- Apply a second layer of colour to all your nails and cure it (you may want to repeat this step if you haven’t reached the desired coverage from 2 layers)
- And for the flower: using a striping brush, draw a couple of lines to your ring finger, creating the base of the bunch of flowers we will have. ( I have to admit that I cheated a bit for this part as I used regular nail polish for the black line as I find it much easier to use in thin lines without compromising on the coverage – however, be careful with this as you won’t be able to wipe it off as easily if you make a mistake)

- Using a dotting tool, start adding the flowers to the line we have previously drew. You may want to flash cure in between for 5-10 seconds to prevent the dots spreading too much and ruining your design. Once all dots are applied, fully cure it under your lamp.

- And then finally, apply a thin layer of top coat to all your nails and cure it under your lamp.

Also try it with other colours, I’m sure it will look gorgeous with any other spring colour too 😉

