So it seems like that summer has finally arrived which means that I can finally wear my absolute favourite colour: yellow 🙂 But I also wanted to mix it up a little with some other shade before it becomes too boring 🙂
I have seen designs on many pictures where there was a clear line left in the mani and it was pretty much love at first sight for me so I knew that I wanted to have something similar. To be absolutely honest, I didn’t know how hard or difficult it would be when I finally made my mind up of how I want this to look. Now, once it’s finished, I must admit that this isn’t the easiest to do but it’s far from being difficult. It gets a little tricky with the clear polish as it’s hard to see the edges but with a little practise that can be nicely done too.
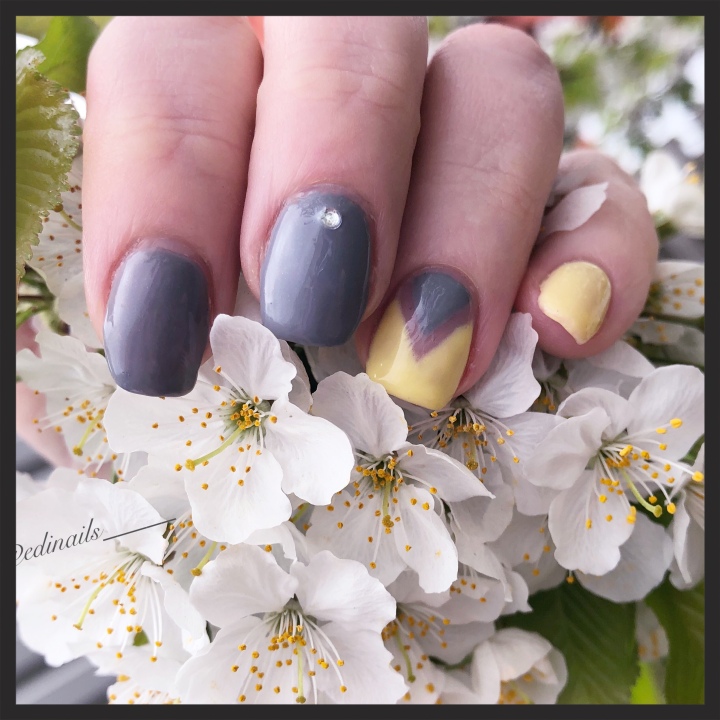
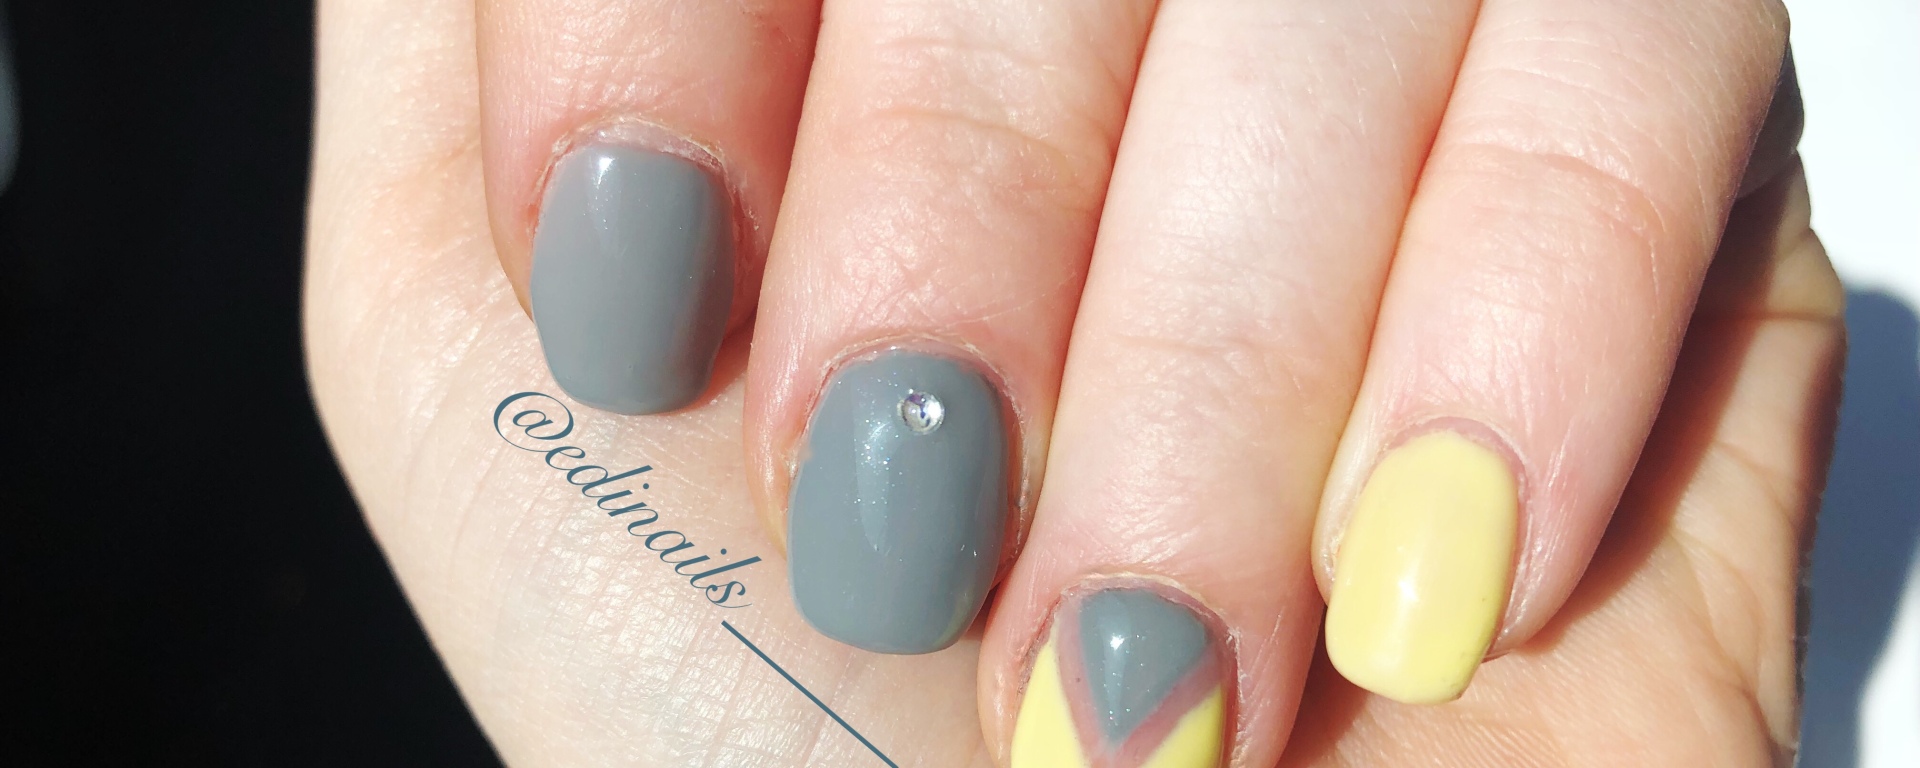
I’ve fallen in love with this design so much that I can’t even tell; it’s yellow, it’s elegant, its summery and it’s also playful so I’m sure that I will be trying on some similar designs in the very near future too: But let’s see how it’s done:
- As always, the first step is to prep the nails, apply a layer of Prep (this doesn’t need to be cured) and then follow it with a thin layer of base coat and cure it under your lamp
- So because I wasn’t really sure how this would go, I have followed with the actual design. I applied a thin layer of grey to the ring finger but only until about half way through as the rest would be yellow. Now before it gets cured under lamp, create a V shape from it using a gel brush and only then cure it under the lamp.
- Then apply a thin layer of colour to the rest of the nails.
- Repeat step 2 on the ring finger. (try to create the V shape by using the same edges you have used for the first coat) And also apply a second layer of colour to the rest of the nails.
- So this is time for the see through bit on the ring finger 🙂 I know this could be a little more challenging but not impossible 😉 So by using a clear polish and a striper, draw a straight line next to the grey bit on the ring finger, sort of extending the grey area 😀 then cure it
This was very tricky to do and I’m sorry for this mistake on the video but I didn’t realise that I was concentrating so hard to create this part that I accidentally covered the camera with my hair a little bit. Again, so sorry about this and I hope that you can still see the most important bits.
- So this is the tricky bit since the previous part was see through, it will be hard to see the edges. But during this step, try to paint the rest of the nail yellow. Make sure that the line between the clear polish and the yellow is sharp by cleaning the yellow from the clear polish with either a gel brush or a striper, then cure it.
- Now repeat step 6 and also add another thin layer of colour to the middle finger, then gently place a diamente to the nail bed and cure it under your lamp.
- And to finish it off, just apply a thin layer of top coat to all nails and cure it under your lamp. Finally apply some cuticle oil to the cuticles.
I didn’t manage to upload a video of this part since I ran out of space unfortunately, but I hope you still manage to complete your full mani 🙂
Also check the full video on YouTube